Beautiful Plaid Nail Art Designs
- Published in Nail Art Compilation
- Permalink
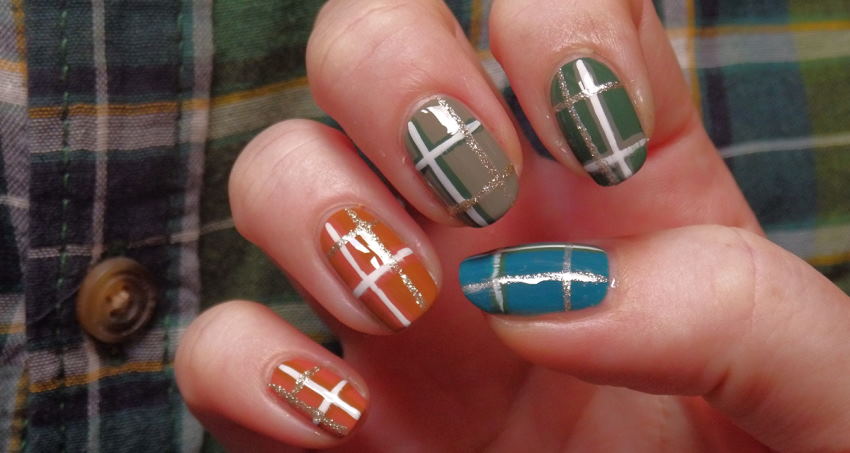
Nails are often considered an afterthought when it comes to beauty, but they can add a lot of personality to an outfit – especially if you’re sporting some plaid nail art designs! This fun and easy tutorial will show you how to create three different plaid nail art designs that are perfect for the winter season. So grab your favorite nail polish colors, and let’s get started!
Guide to the perfect plaid nail art
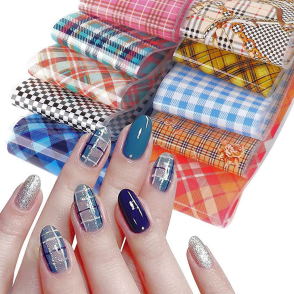
When it comes to nail art, there are endless possibilities. You can go for a subtle and sophisticated look or go all out with bold and bright designs. Plaid is one of those timeless patterns that can be used in various ways, and it looks great on nails. So whether you want a simple plaid design or something more intricate, these ideas will inspire you.
For a classic plaid design, start with a base coat of your favorite color. Then, use a striper brush to create thin lines in a contrasting color. Start at the bottom of the nail and work your way up, creating a plaid pattern. Finish with a top coat for extra shine and protection.
If you want a little more fun, try making each nail a different color. For example, start with a light base coat and use different colored stripers to create your plaid design. This is a great way to experiment with different color combinations.

If you’re feeling creative, try making a plaid design using glitter polish. Start with a glitter base coat, and then use a striper brush to add thin lines of contrasting glitter polish. This is a great way to add some sparkle to your nails.
No matter your plaid design, it’s sure to look great on your nails. So pick your favorite colors and get creating!
Create a fun and festive plaid nail art design
For this plaid nail art design, you will need:
- A base coat of your favorite color
- Three colors of polish in similar shades (we used red, green, and white)
- A top coat
- A piece of scotch tape
- Nail art pens or a toothpick
- Begin by painting your nails with a base coat. We recommend using a light color so that the colors of the plaid stand out.
-
 Next, take your piece of scotch tape and cut it into thin strips. You will need two strips for each nail.
 - Once your base coat is dry, begin applying the first color of polish. Again, we recommend starting with the lightest color. Next, apply the polish to the entire nail and immediately apply a strip of scotch tape over it, ensuring that the tape is nice and straight.
- Repeat step 3 with the next color of polish. Again, ensure that the polish is completely dry before adding another layer of scotch tape.
- For the last color of polish, apply it directly to the nail without using scotch tape. Allow this color to dry completely.
- Once all the colors are dry, carefully remove the strips of scotch tape. You should now have three thin stripes of color on your nails.
- To create the plaid design, take a nail art pen or toothpick and draw lines over the stripes of color, connecting them at the edges. You can make the lines as thick or thin as you like.
- Once you are happy with your design, finish it with a top coat of polish.
And that’s it! Your festive plaid nails are now complete. So enjoy showing them off to your friends and family this holiday season!